I do more work in preparation for a weld than most folks do. In this section I plan to explain what I do, and why I do it. Can you get by doing less work than this? Certainly. There are many famous ‘smiths that don’t do the prep. work that I do and turn out fantastic steel. I’m very happy for them. I have very limited shop time and so I like to leave as little to chance as I can, so I “go the extra mile” so to speak. As I detail these steps, I’ll explain each one and hopefully convince you that all of this extra work isn’t a waste of time.
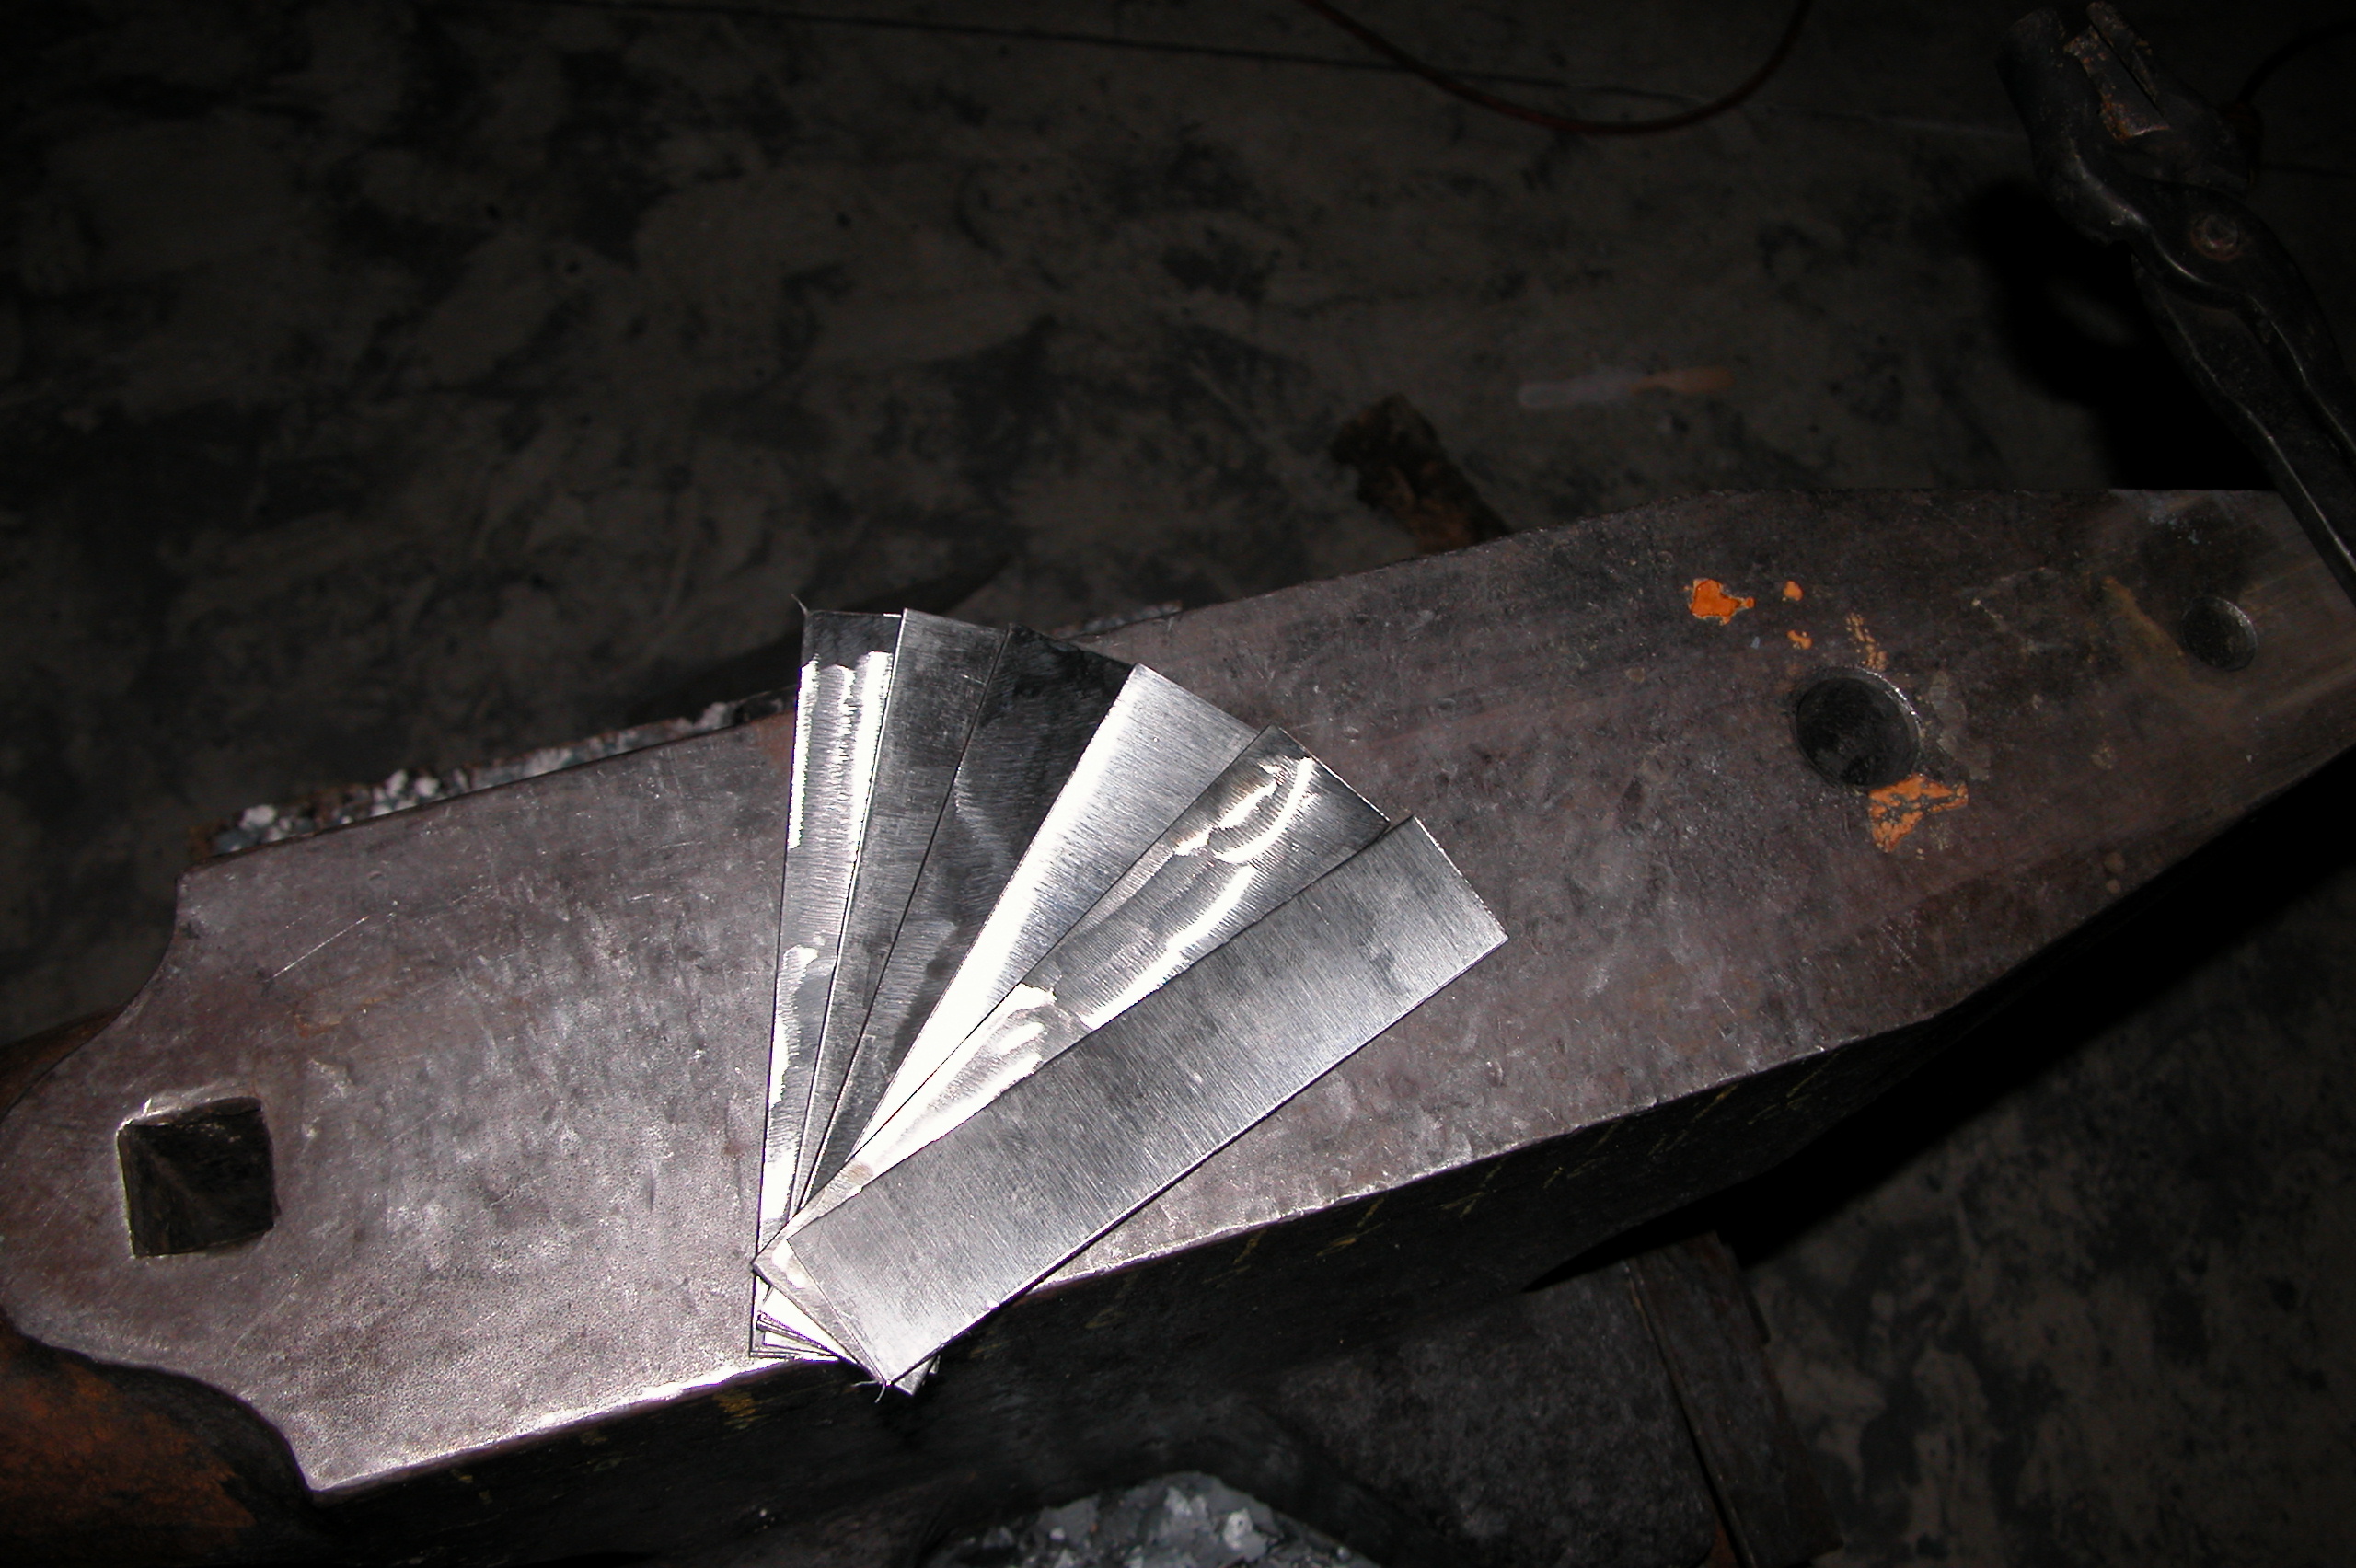
The two major things I do in preparing my steel are to grind it completely clean on any welding surface. That means NO forge scale or mill scale on the steel before stacking. To illustrate this, here are pictures of steel before cleaning and after cleaning.
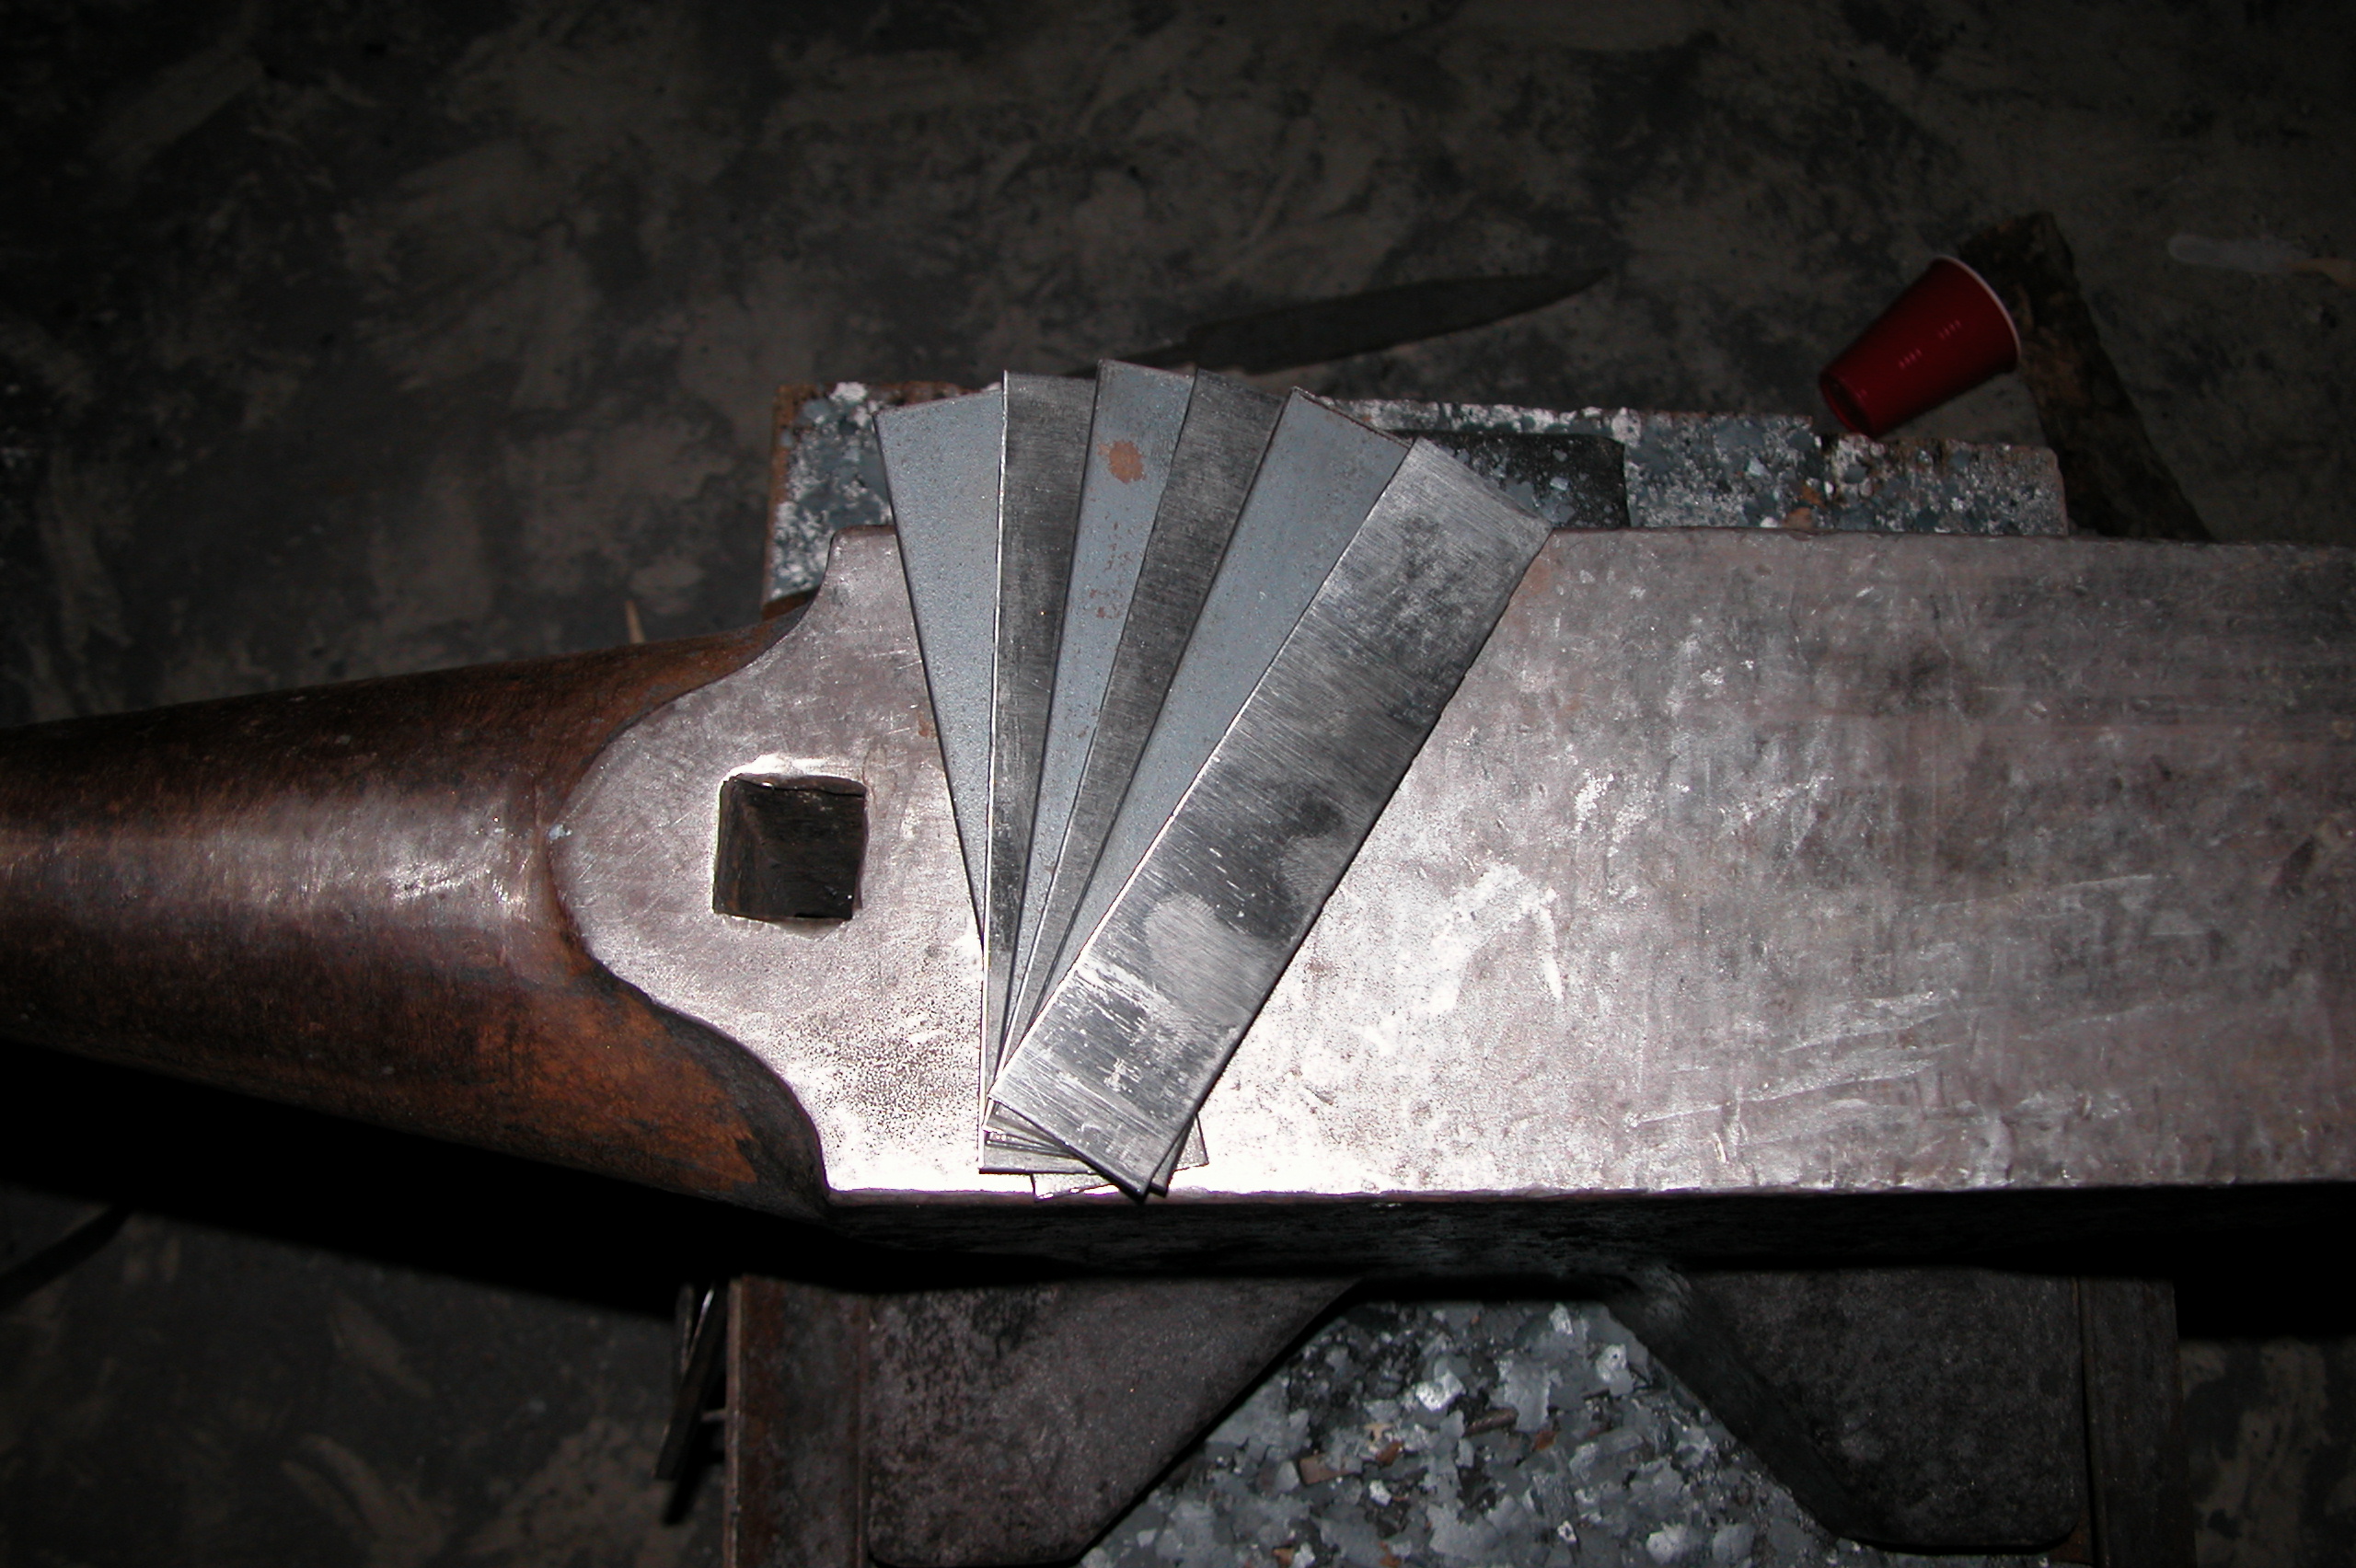 And the same steel after being ground clean:
After grinding clean I’ll generally wipe the steel down to make sure there’s no grinding grit, etc on it before stacking.
Now, you may have heard that flux will “clean up” scale for you. It’s true that heated welding flux is pretty corrosive stuff and will dissolve the scale right off of steel. However, it has to get to the scale to do this. If I have nice flat layers in a billet that means I have to let the flux get into the middle of my weld zone to do its job. This creates a couple of problems. First, if the flux doesn’t fully dissolve the scale I can end up with a failed weld (bad) or a small inclusion in the steel that won’t show up until later (worse). Second, what happens if the flux itself gets trapped in the weld? That can make a nasty inclusion in the steel or worse, a big blister of flux that needs to be ground out. Get a big blister in the middle of the billet and you may as well pitch it.
Since it’s not at all uncommon to spend 8-10 hours working a single billet (or a whole lot more if you’re hand hammering) I find it’s worth the extra 20-30 minutes to properly prepare and clean my steel before starting each weld. That 30 minutes can save you another 8 hours of re-creating the billet you just worked so hard on.
So, now you’ve got your steel clean. Next it stacking it in preparation to weld. First off, let me say that there is no hard and fast rule that layers must be plain and simply alternating. It is however a good place to start. There is more discussion of this in the patterning basics section.
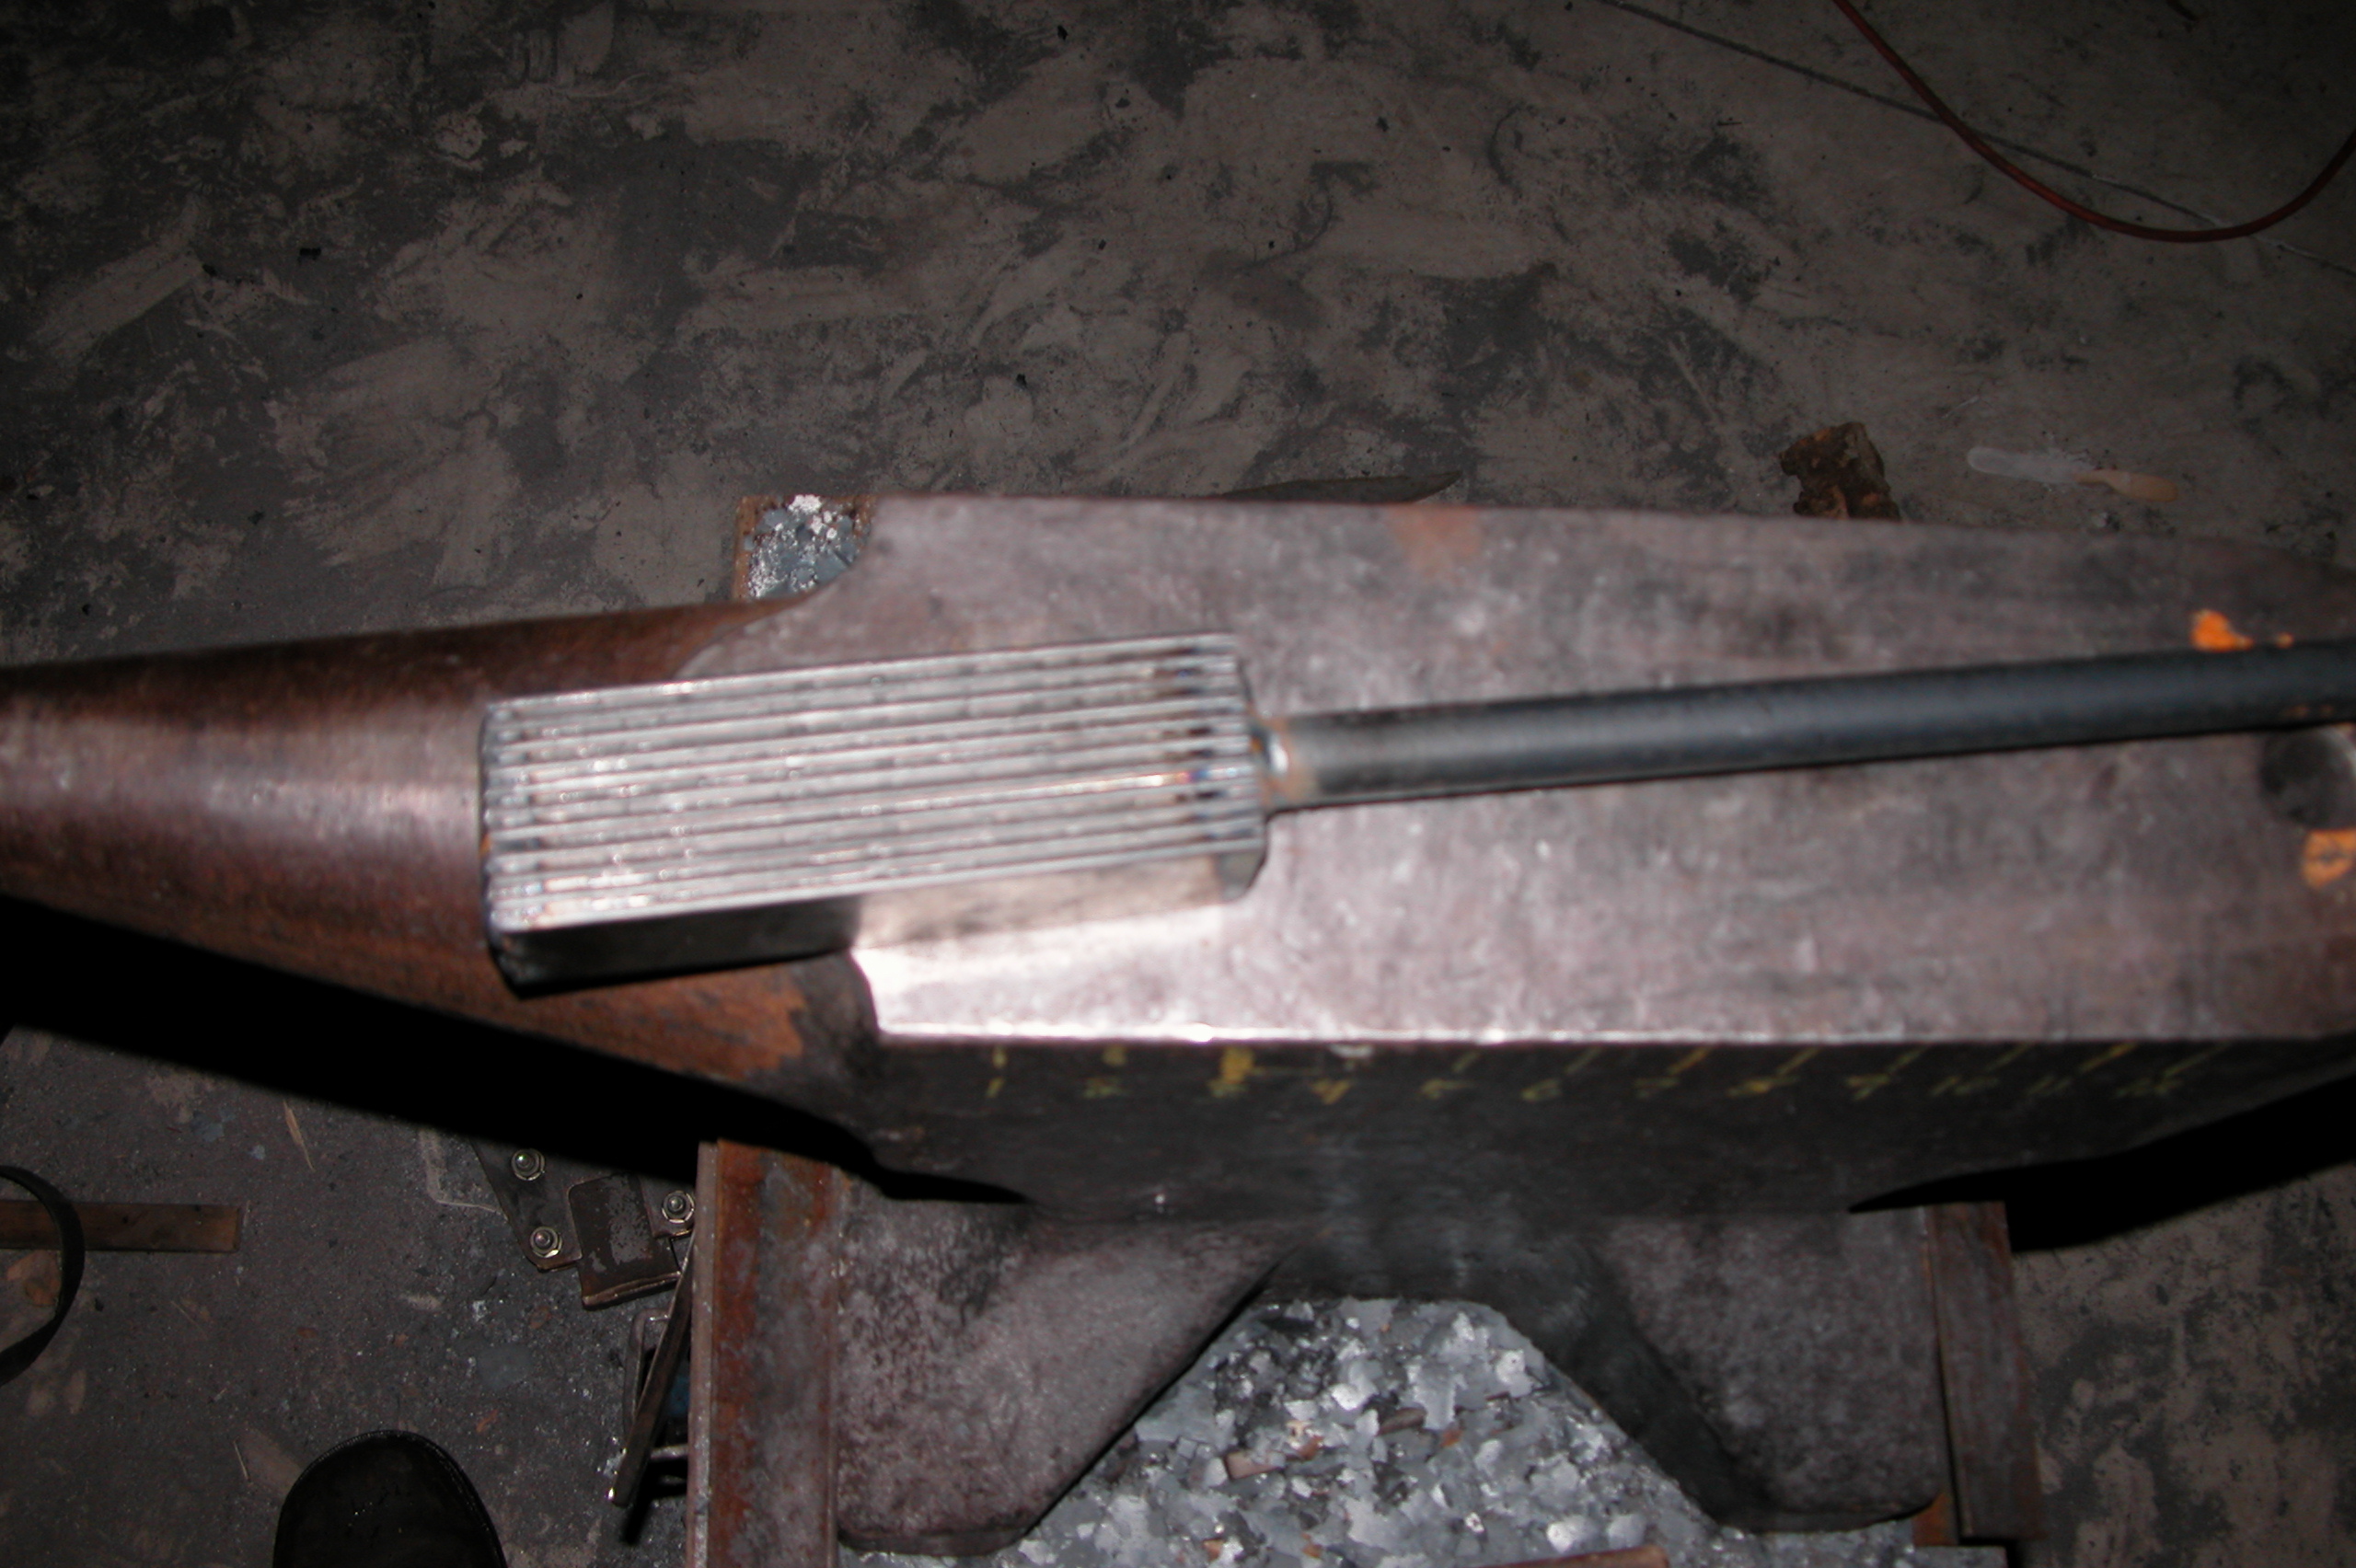
Begin by stacking your steel in alternating layers based on steel type. Then, square everything up and clamp it together before welding a seam down each corner to hold the pieces together. After that a piece of steel is welded on as a handle. I use 3/4″ square stock from my local welding supply. I have used round stock for handles and I find that the extra “corners” on square stock provide a bit of extra stability during forging. In addition to this, it’s easier to hold a square handle firmly since it won’t roll around in your hand. Make sure you chamfer the end of the bar before welding to get a good strong weld. If you don’t have (or have access to) a welder, you can hold your pieces together by tightly wrapping them in steel wire. It should be noted that non-ferrous wire such as copper won’t work since it will melt well below welding temperatures. Ideally, use stainless steel wire if you have to wire wrap your billets.
Below you will see a picture of a billet stacked up with alternating layers of 1084 and 15n20. In this case the 1084 was 1/8″ thick and the 15n20 was .058″ thick. All pieces are 1 1/4″x6″. It should be noted that since this picture was taken I have modified my methods slightly and now add an extra bead of weld down the center of the billet if the layers are thin. This is to prevent the outside layers from “bulging” away from the billet as they begin to heat and expand. Allowing the layers to separate invites flaws in your finished product and can cause molten flux to spray out when you strike the billet to weld it.
At this point you have a prepared billet ready to go into the forge.
i was wondering as to what steels would be best coupled for pattern welding.
Shawn,
It depends upon the intended use of the end object really. Are you just looking for a pretty pattern? Will it be used in a knife/does it need to hold an edge? If so, what type of knife/use, etc. If you can give me a little more info on what you’d like to do I’m happy to help you figure out what would work best.
where do you get your steel? I’ve taken an interest in sword and armor crafting and am curious if you have to special order your steel or simply pick it up at a local hardware store.
Take a look at my “suppliers” page. I highly recommend Aldo Bruno the NJ Steel Baron. Steel you find at the hardware store won’t be anything of use for a blade for sure.
Could you tell me the mm for a sheet of steel that is going to be welded to make a can please? I’ve been looking all over the Internet and can’t find it; I need it for my coursework. Thanks very much
Chloe,
It’s variable and not terribly important to be quite frank. What you need to make certain of are the following things:
It is however quite important that the end caps for the can be 2-3 times as thick as the walls. This is because you will have a handle welded to one end, and as you forge, the contents of the can will want to squeeze out toward the ends. You need the extra thickness to contain everything.
A few more tips:
If I may ask, what course are you taking that this is relevant to? I’m very curious.
-d
It’s for my A-Levels, I’m taking the Edexcel Product Design course. For the first section (Product Analysis) I chose to study an aluminium aerosol can but I am finding it extremely difficult to obtain all the information I need about manufacturing processes. Thanks for your help deker.