At its heart, pattern development in steel is the result of a relatively small number of forging operations that when combined with each other and specific layouts of the steel prior to welding, make up the finished result.
The basic patterning operations are (in no particular order):
- Forge Welding
- Drawing
- Twisting
- Laddering
- Upsetting
- Drawing
- Splitting
- Pinching
In the sections below I’ll give a little bit of detail on each of these which can be used as a reference for other pages on specific patterns. I’m working on expanding this section, so please pardon the lack of text and photos. I’m working on it. 😉
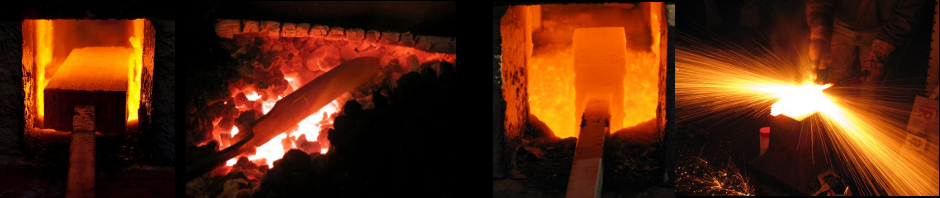
Forge Welding
Forge Welding process is covered in detail elsewhere on the site. As it is the fundamental process in pattern welding though, it deserves mention here as an operation in pattern development. Forge welding is the joining of two steels together using heat and pressure and has been in use for thousands of years.
Drawing
Drawing is simply the act of stretching steel in a specific direction by reducing its cross section. It should go without saying that in making pattern welded steel, drawing steel is one of the most common things that needs to be done. It should be noted though that there are many ways of skinning the cat of drawing a bar of steel. There are also a few things that can (and do!) go wrong with drawing out a bar that can affect the pattern you get in the end.
While you can draw a bar out by simply smashing it with a hammer in one direction, and then rotating the bar 90 degrees and flattening out the bulge you just caused, there is a lot of wasted energy, and a lack of control in doing it this way. You can control which directions your steel moves in much the same way you can roll out dough on a counter top. This is the reason for the pein of a blacksmith’s hammer being narrow as in the photo below.
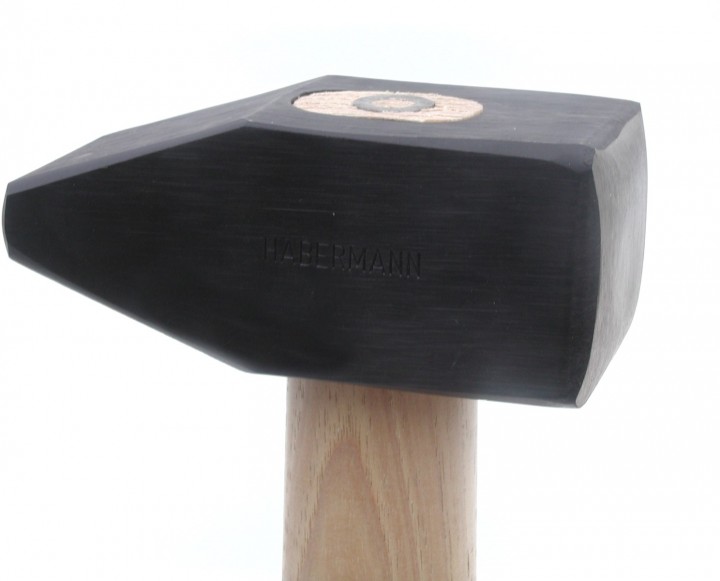
Cross Pein Hammer
Twisting
Twisting is a very important operation to several patterns. Twisting is not difficult, but can be disasterous if you don’t take your time and do it right. In addition, twisting will really test the quality if your forge welds. If youre welds are not strong, twisting is a very rapid way to cause delamination of your welds.
In order to successfully twist a billet without introducing flaws, some preparation is important. Before twisting, you should first forge your billet into a square cross section. The more even and square your billet is at the point, the better your overall results will be. After forging to square, you should forge the sharp corners back into the billet, creating the beginning of an octagon shape to your billet. This will help reduce inclusions and cold shuts from sharp corners not getting fully welded back in after the twisting. I know many folks forge their billet to a round cross section before twisting. I choose not to do it this way as it makes it difficult for me to gauge the rate of twist as I work.
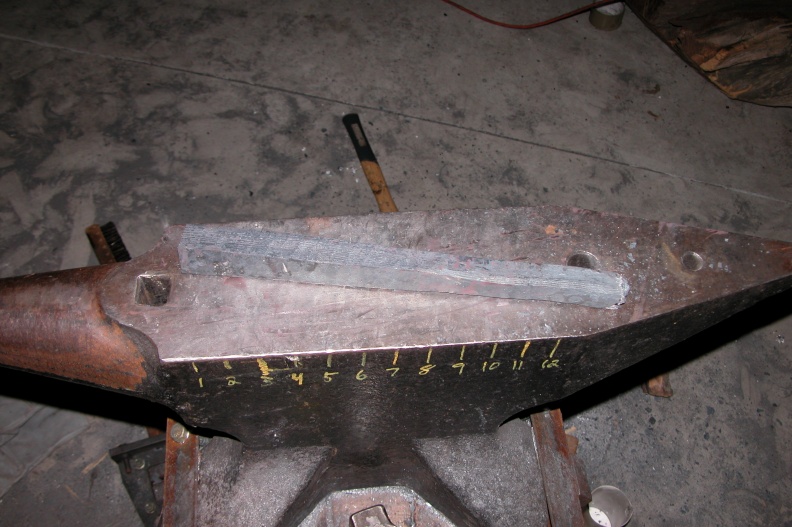
Pattern Welded Bar Ready to Twist
Once you’ve prepared your billet to twist, it’s time to prepare your work area. Make sure that your vise jaws are set open slightly wider than your billet is wide. Additionally, make sure your twisting wrench is set to the right size for the billet to be twisted. Place all of your tools where you can easily grab them and begin work. You will need to move quickly and efficiently in order to maximise your twisting heat.
Heat your billet to a high orange color, just below a welding heat. The hotter you work while twisting, the less likely you are to delaminate your billet. You can either twist your billet in sections, or all at once. One main difference between twisting for pattern welding and decorative twisting is that the surface condition of your twisted bilet does not matter when twisting for pattern welding. You can grab the billet at any point with your wrench, or clamp it in the vise at any point along the billet. I use a pipe wrench with an extra handle welded onto the top jaw for a twisting wrench. It works very well, grabs the billet at any point and allows for very controlled twisting.
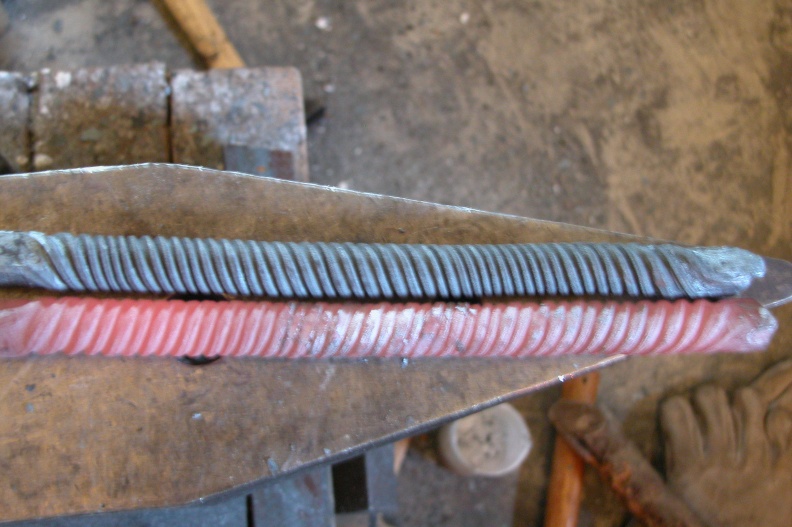
Once your billet is up to heat, remove it from the forge, clamp it in a vise, and begin twisting with your twisting wrench. As you twist, you need to pay attention to your billet. Watch as you twist and note where and how it it twisting. It will twist most readily where it has the most heat. If you have an uneven heat, some parts of the billet will twist more than others. Don’t stress too much about this, it can be fixed easily. As you feel the billet begin to resist your twisting, it’s time to back off on the twisting. If you hear any “squeaking” or “groaning” from the steel, it’s time to stop twisting and reheat. As you do more twisting, you’ll get a feel for how much twist you can get in a given heat. It is possible to twist a billet in two, and this is difficult to recover from. Take your time until you get the feel for it.

Starting to Twist
If your twist is uneven and you would like to fix it, you can do this. Make sure that the section that needs more twist is well heated, and clamp your piece in the vise with this section just above the vise jaws. Then grab onto the billet at the end of the “slow” section of this twist and twist just the section that needs it. This is where a pipe wrench becomes very useful as a twisting wrench. It will “bite” into the steel and allow you to gran the billet at any point. Again, don’t worry about marring the surface of the billet, it will not show up in the finished product.
Twisted Bars
Laddering
“Laddering” takes it’s name from the historic name of a pattern noted in Wootz steel from antiquity called “Mohammad’s Ladder”. This pattern was most likely created by removal of stripes of steel across a billet and then drawing the billet back to flat. An example of this pattern is pictured below. If you look closely, you can see vertical “bands” in the pattern displayed in this steel.
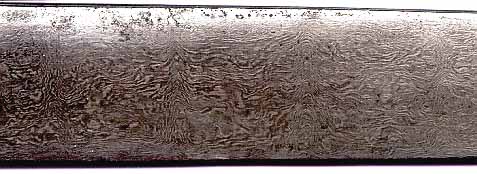
This is one method to create these vertical stripes. Another method is to forge depressions into the billet and grind the resulting “bumps” off. This is my preferred method as it causes distortion through the entire thickness of the billet, which means that you can’t grind away the pattern.
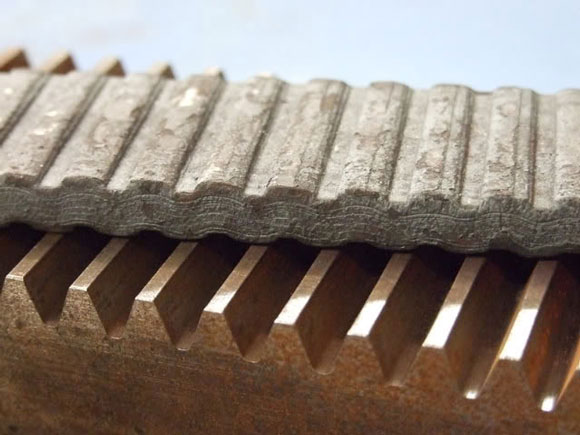
Forged in ladders in a billet
When I use the term “laddering”, I don’t limit it to straight lines being ground or forged into a billet. Instead, I refer to using these processes to create any type of pattern in the steel. the same operations are used to create “raindrop” pattern by simply making the “ladders” into round shapes patterned across the steel.
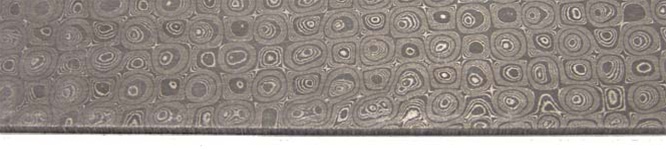
Raindrop Pattern Damascus
You can even make more complex patterns such as ABS Mastersmith Jerry Fisk does in his “Dog Star” pattern
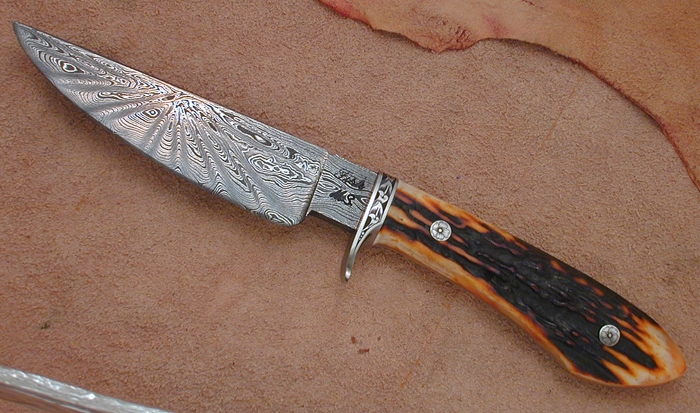
Jerry Fisk “Dog Star” pattern
Comments
Patterning Operations — No Comments